Photoshop’s a tool that’s used by most graphic design industry experts.
And it’s so popular for a good reason.
There are very few things that you can’t do with it when it comes to editing photos.
But it’s a double-edged sword because, with a lot of functionality, there are tons of hidden tricks, and secret keyboard shortcuts that are invisible and hard to come across when normally using the program.
And not knowing them could make someone’s photo editing workflow a lot more sluggish and slow.
I’ve been learning and using Photoshop to manipulate images and create YouTube thumbnails for over 7 years now and I’ve collected so many tips & tricks.
So in this quick and dense Photoshop guide, I’ll show you more than 37 techniques and keyboard shortcuts to help you become a more productive and well-founded photo editor.
What are the best Photoshop keyboard shortcuts?
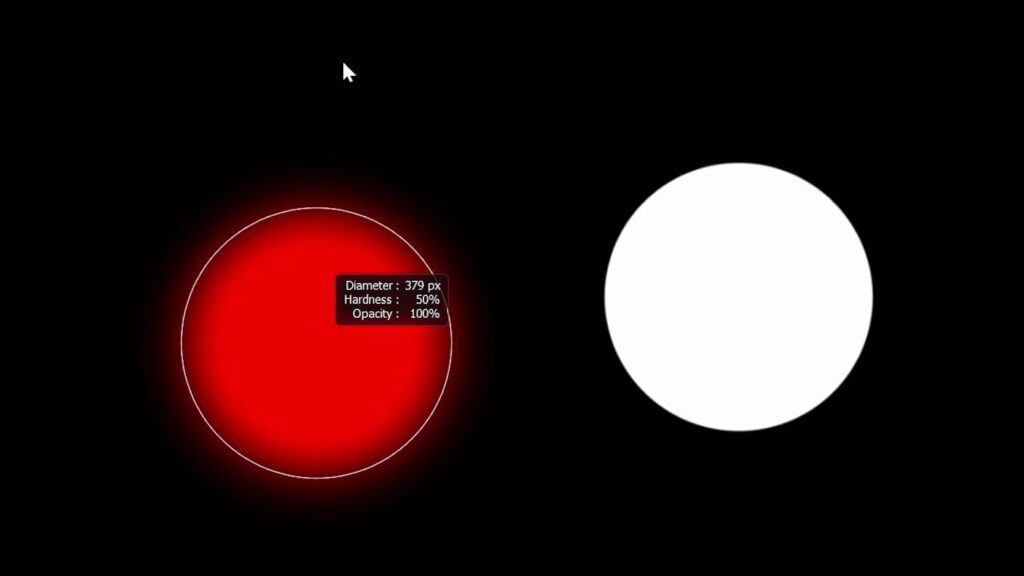
ALT + MOUSE2 + DRAGGING left or right will change brush size.
ALT + MOUSE2 + DRAGGING up or down will change brush hardness.
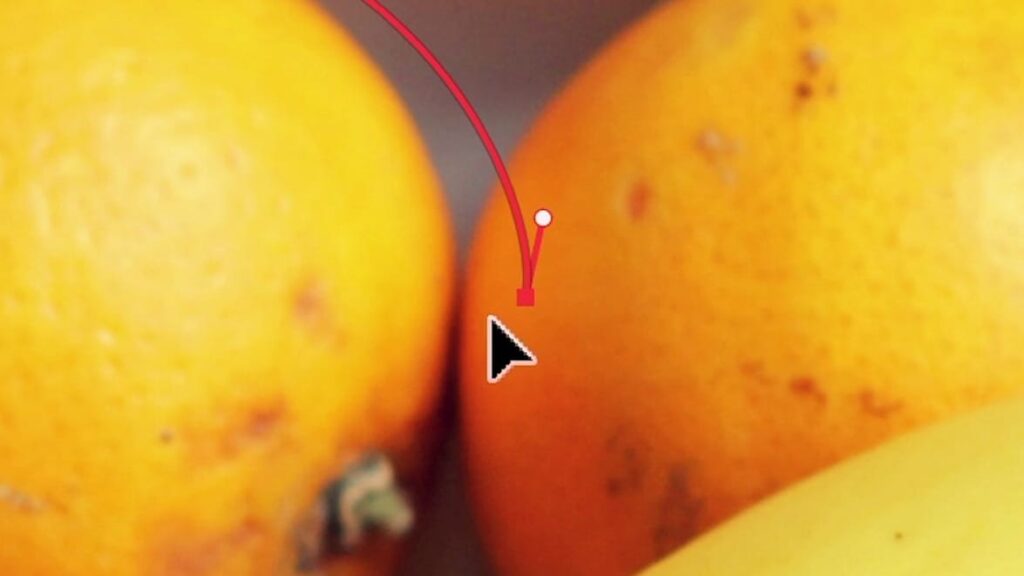
With the pen tool, hold ALT and you can control the anchor handles or ALT-CLICK on a point to get rid of the handle that’s coming out of it.
You can also hold CTRL and move control points and handles that have already been placed with the pen tool.
Hold SPACEBAR to grab and drag around your canvas.
The bonus tip is to go to hit CTRL + K to open preferences, click tools and turn on “Overscroll” which will let you move your canvas even when you’re zoomed out of it.
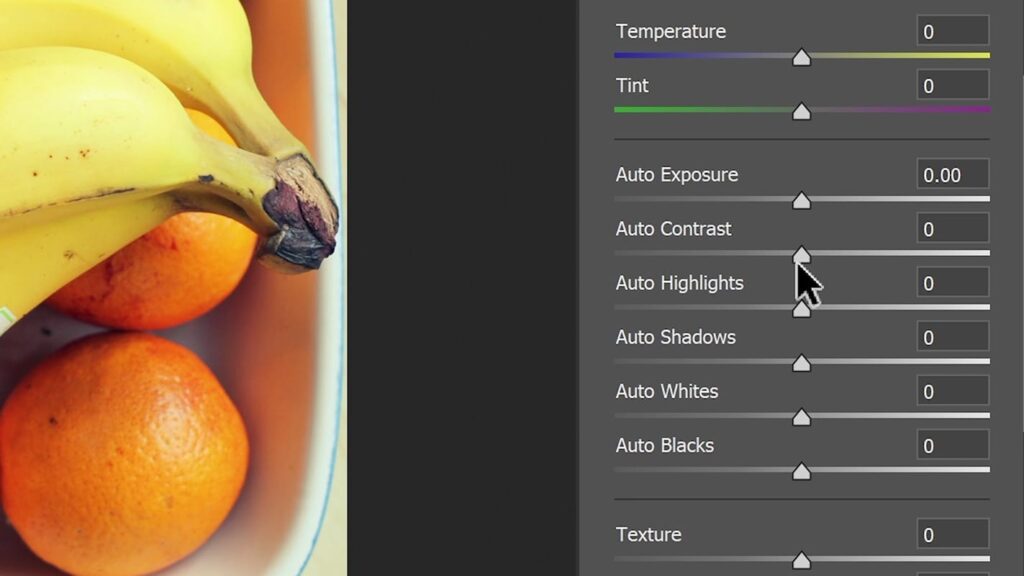
In the camera raw filter hold SHIFT to reveal auto-adjustment buttons for each of the basic adjustments.
You can also double-click on any slider in the camera raw filter to reset it to default.
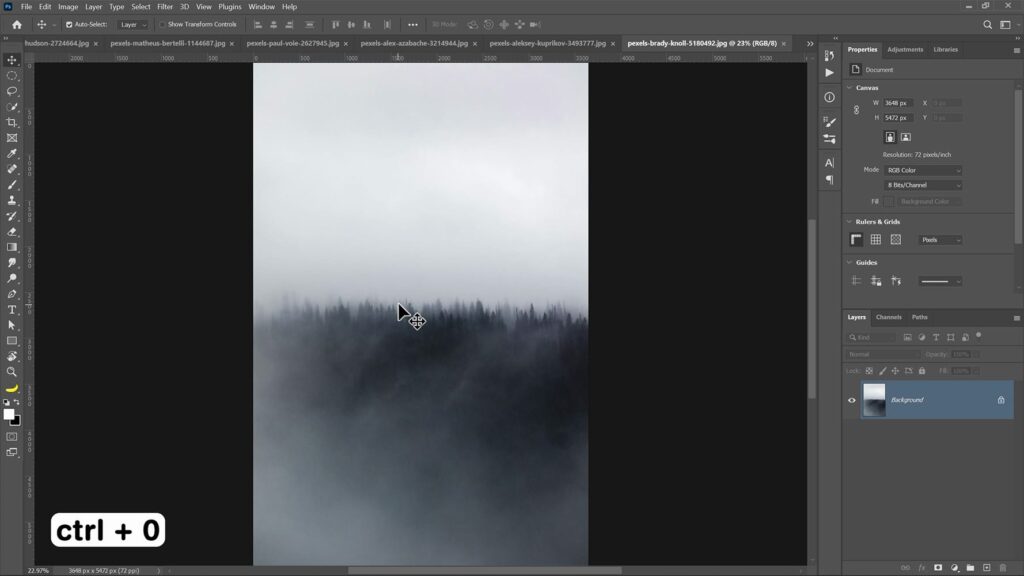
You can reset Zoom to fit your screen with CTRL + 0.
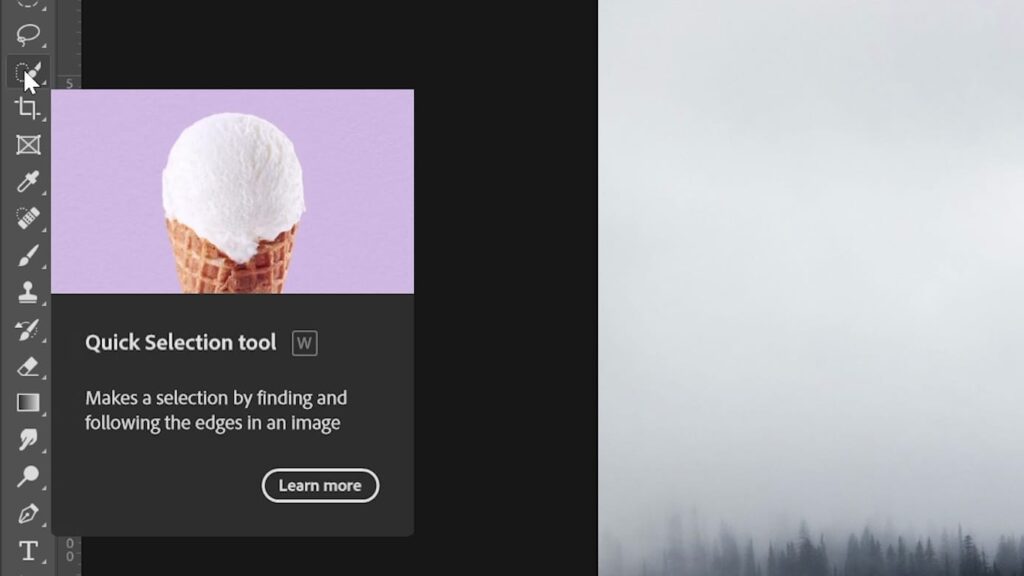
You can hover over any tool on the left to see the key on your keyboard that activates it when you press it.
Learning the basic ones like V for the move, L for the lasso, and P for the pen tool is a must.
Hold SHIFT while pressing any letter for a tool it will cycle between that set of tools.
Coming back to the pen tool, when you create a path with it, hit CTRL + ENTER and it’ll turn it into a selection.
If you’re not happy with your selection, CTRL + D will de-select it.
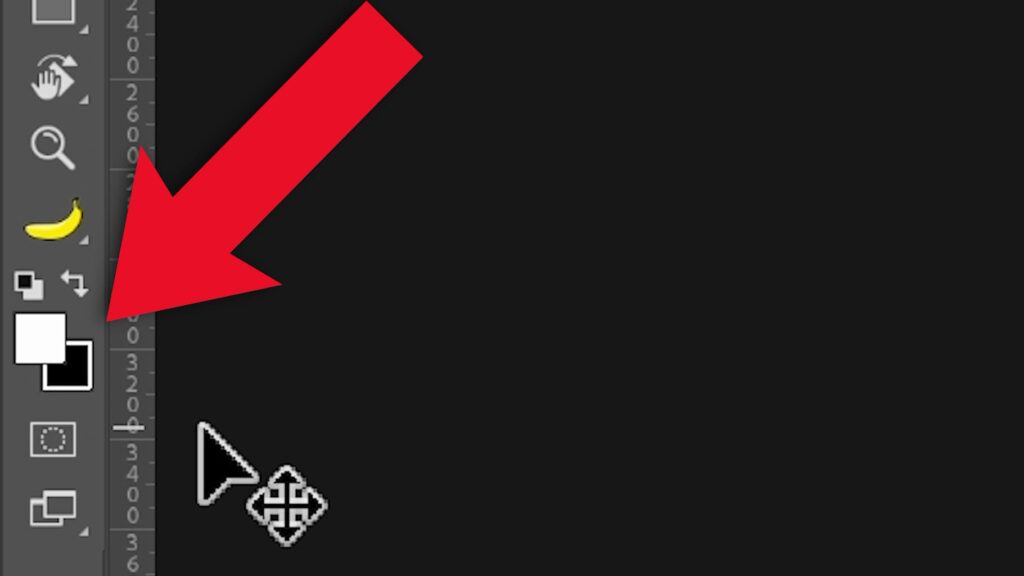
Letter D will toggle your colors back to the default black and white.
Pressing X will quickly switch between the background and foreground colors.
You can press and hold a letter of any tool on the left and then when you release that key from your keyboard you’ll return back to the tool you’ve been using before.
This is great for quick switching between tools without having to use your mouse to do so on the left.
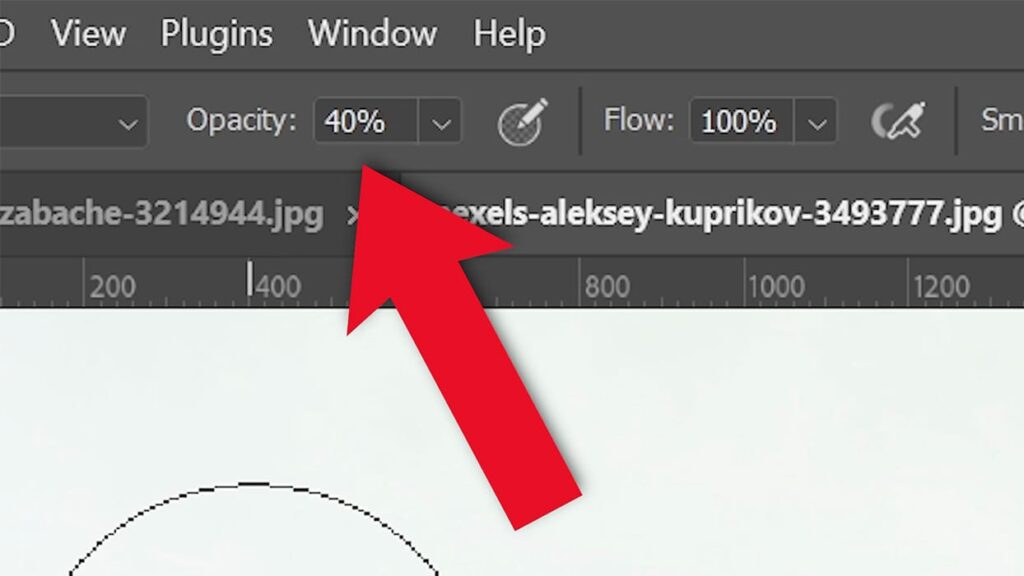
Coming back to the brush tool, press any number on your keyboard and you’ll change its opacity to that number.
Pressing two numbers fast will set the exact opacity amount.
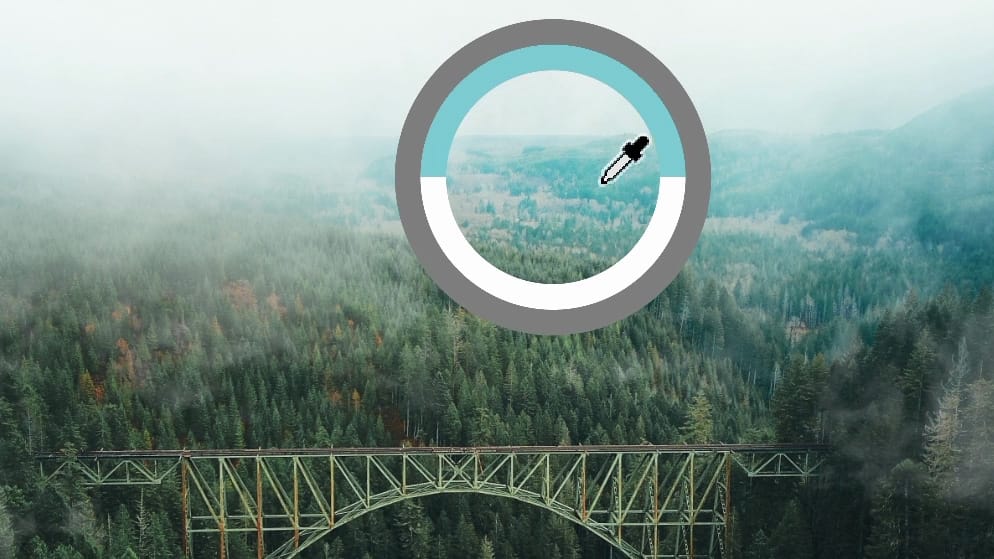
When the brush tool is active hold ALT and you’ll be able to quickly toggle the color picker.
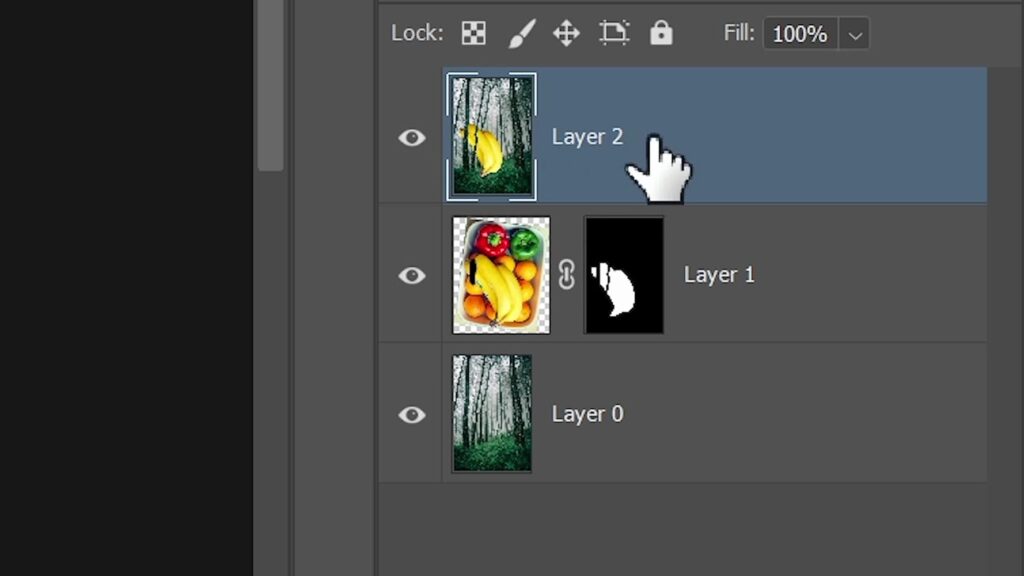
CTRL + SHIFT + ALT + E merges all visible layers as a new layer. This is very useful for applying a final camera raw filter and the end of your composite.
ALT + BACKSPACE fills your canvas or the selection with the background color and CTRL + BACKSPACE fills it with the foreground color.
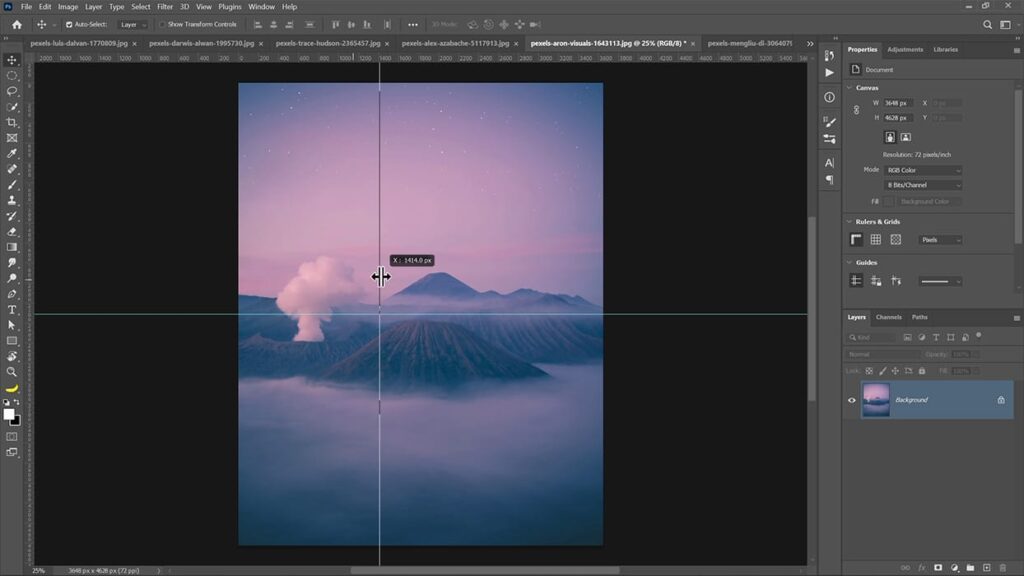
CTRL + R will hide or show the rulers from which you can drag guides which objects will snap to.
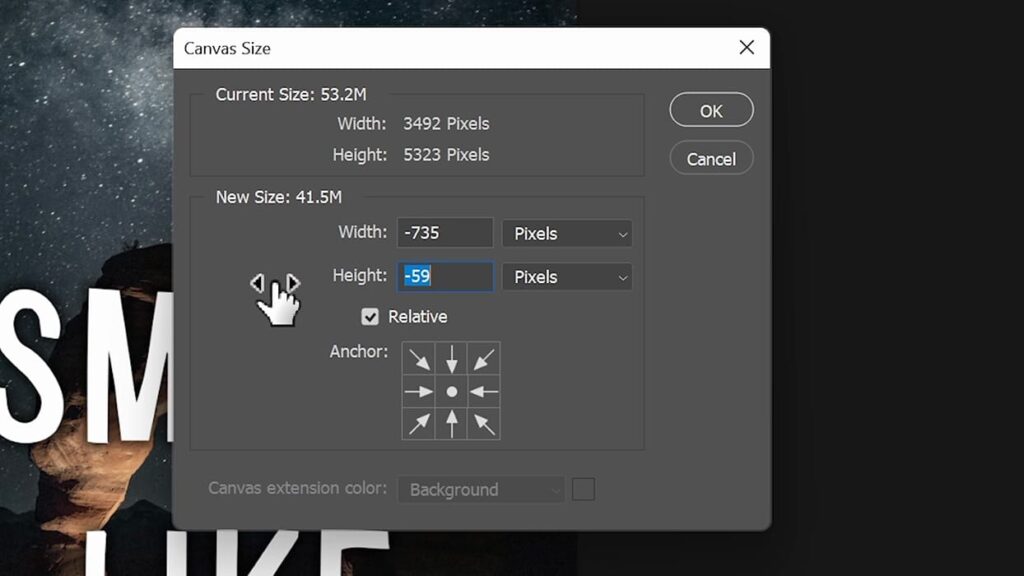
CTRL + ALT + C will let you change your canvas size (without resizing everything that’s on it).
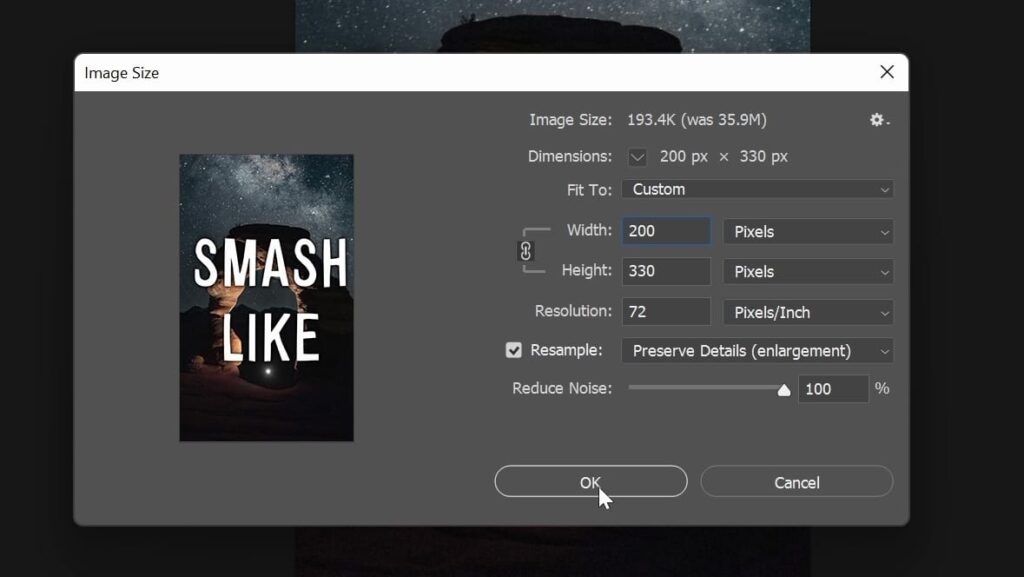
CTRL + ALT + I Will let you change your image size, which will resize everything that’s on your canvas with it.
Also holding ALT will let you zoom in with your mouse scroll wheel.
SHIFT CTRL Z will Step Forward in Photoshop. This is useful when you have undone too many actions with CTRL Z and want to go back.
CTRL + SHIFT + N + ENTER will quickly insert a new layer.
CTRL + J will duplicate the current layer.
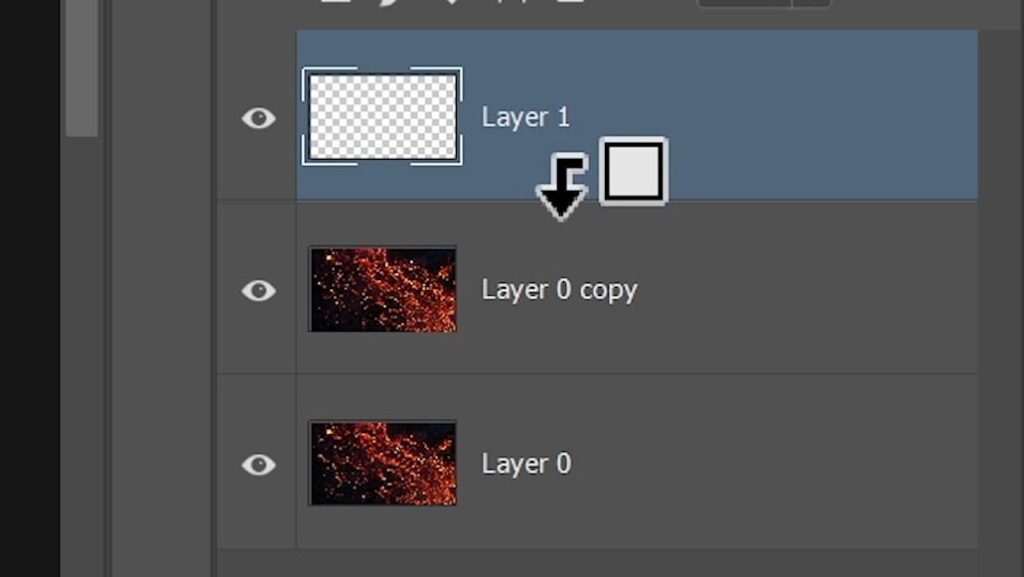
CTRL + ALT + G will create a clipping mask. Though I prefer to hold down ALT and click on the line between layers to do the same thing.
CTRL + [ will send a layer down and CTRL + ] will send it up. Add SHIFT and you’ll send layers to the very top or the very bottom of the pile.
Holding CTRL while dragging something will stop it from snapping to different objects.
If you want to scroll through your layers without using the mouse hold ALT and press either [ or ].
If you accidentally click away from your selection click CTRL + SHIFT + D to reselect and bring it back.
You can invert the selection with CTRL + SHIFT + I.
You can hold ALT and click on a layer mask to view a black-and-white mask view to better understand what you’ve masked out.
If you want to select only what’s on the layer hold CTRL and click on the layer thumbnail.
SHIFT + CTRL + A will bring up the camera raw filter.
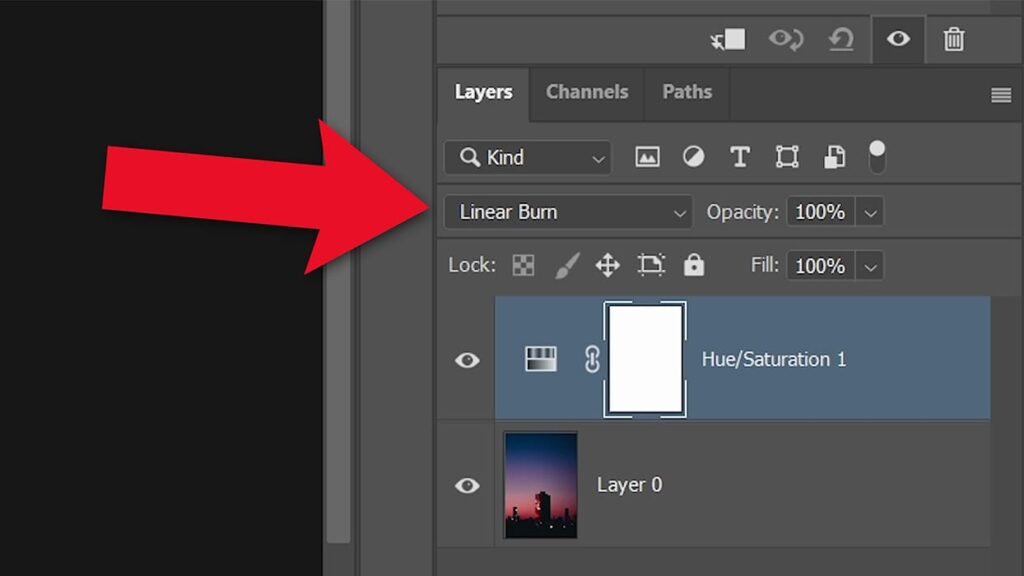
SHIFT and + or – will cycle through layer blending modes.
CTRL + ALT + 0 will let you view the image in its actual size.
Hold ALT and CLICK on the eye icon next to any layer to hide all other layers and leave this one visible.
Once you’re done photoshopping it hold the ALT again and PRESS on the eye to reveal back the hidden layers.
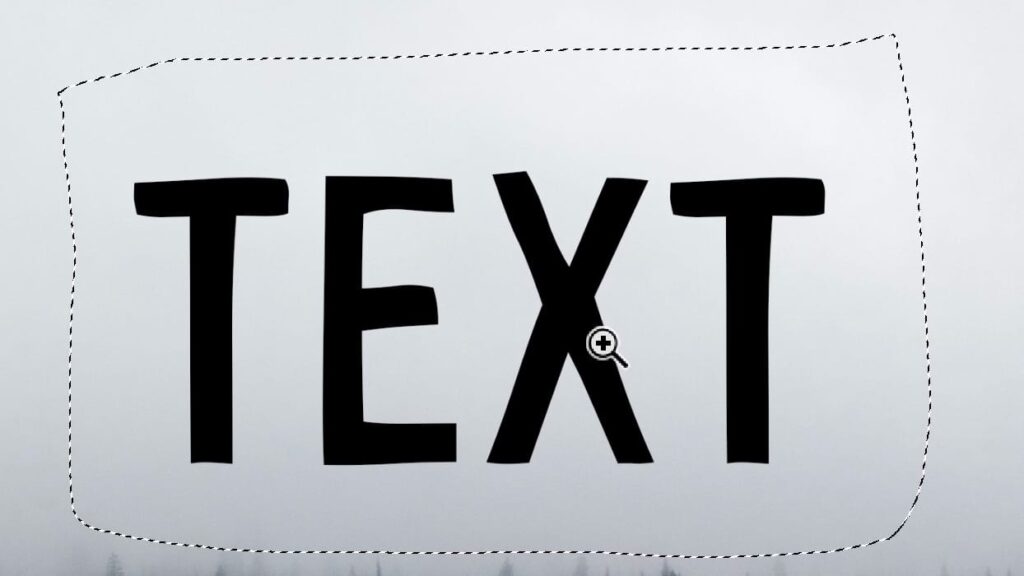
CTRL + SHIFT + PERIOD (.) will increase the size of the selected text.
CTRL + H will toggle the hiding of the selection.
The selection or a path will still be there but you won’t be able to see it.
Hold down CTRL + SPACEBAR and drag with your muse right or left to zoom in or out in any part of your image.
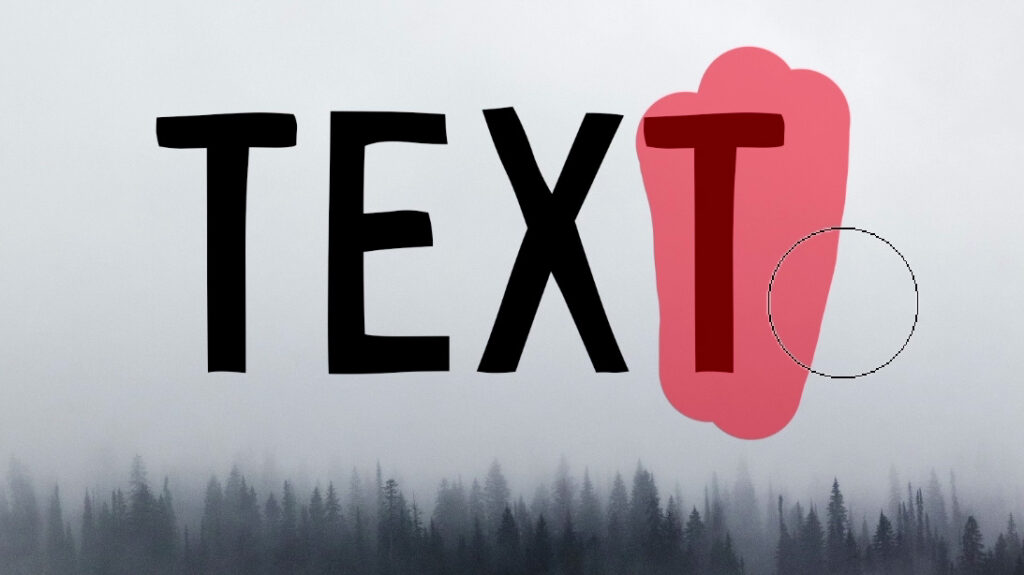
Hitting Q will toggle the quick mask mode where you can paint with black to deselect places in your image and once you hit Q again and hit the mask icon those areas that you painted over will be masked out.
When you use the Dodge or Burn tools, hold ALT to temporarily switch them.
My Free Photoshop Course On Skillshare
This course is best for intermediate Photoshop users trying to learn new tricks and improve their workflow.
Price: $0
You can grab the free 1-month trial of Skillshare and take this course completely for free!
Moreover, you can take more than this one course and enjoy a plethora of great courses that Skillshare has to offer all included in the free trial.
About this course:
If you want to learn how to be more productive with Photoshop, I’ll show you the best Photoshop tips and tricks that’ll make your digital workflow faster.
You’ll also learn about useful Photoshop keyboard shortcuts along with some photo manipulation techniques to expand your photo editing skill set.
In this course you will learn:
- Useful Photoshop keyboard shortcuts.
- Photoshop productivity tips.
- Photo editing techniques.
- How to fix common Photoshop issues.
Why take this Photoshop course?
If you’re like me and you love figuring out tricks on how to make your digital workflow at least 1% faster, then this class is for you.
After all, photo editing can take a long time.
I’ll show you how to speed it up.
Who is this Course for?
This class is for anyone looking to become more productive with Photoshop and add skills to their photo editing toolkit.
View “Stop Wrestling With Photoshop: Best Tips, Tricks & Keyboard Shortcuts” on Skillshare.
Was this list of Photoshop shortcut keys useful?
So you’ve reached the end!
Big congratulations from me and I hope there’s at least one keyboard shortcut that you’ll take away from this list and use in your own projects.
Of course, the best thing when trying to learn new things is to put them to use.
Because if you know a trick exists there’s a very high chance you’ll forget it if you don’t use it over time.
I also encourage you to check out this list of the best Mac keyboard shortcuts.
They synergize extremely well with Photoshop if you’re using this photo editing software on MacOS.
Thanks for reading 👋!
